


How to Use a Jigsaw: Blade Choice and Cutting Control
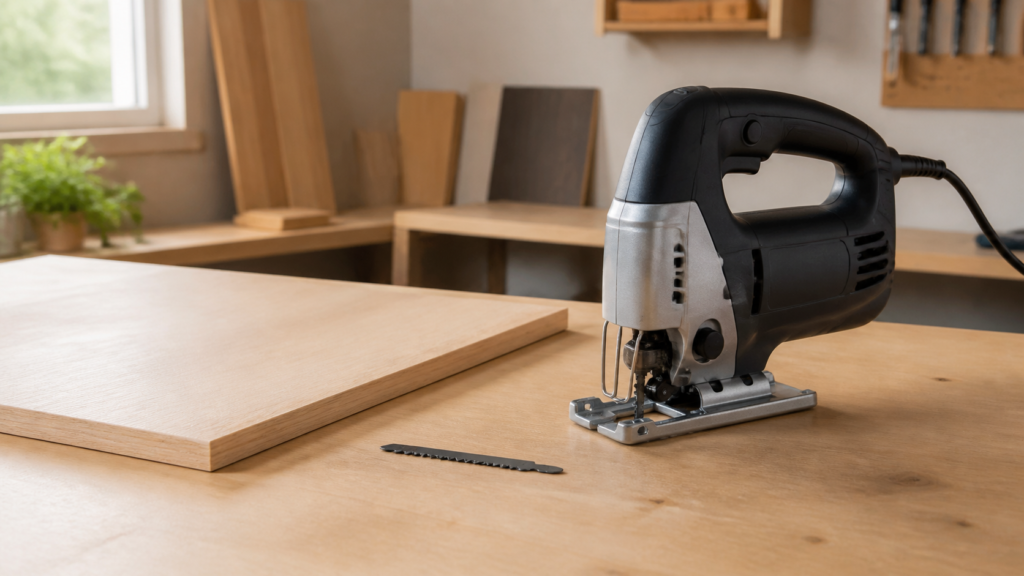
How to use a jigsaw well is mostly a setup problem: isolate the power, define the cut, confirm the blade and holder, support the work, choose only settings documented for the saw, and then guide the tool with the shoe supported. Do not begin with an assumed speed or force the blade to follow the line. If the cut drifts, vibrates, burns, or damages the edge, stop and check the setup variables one by one.
This sequence matters because “jigsaw cutting” combines several decisions that are easy to blur together. The blade can fit the holder yet be unsuitable for the material or path. The work can be marked but poorly supported. A control position that works on one model may mean something different on another. Treating those as separate checks makes the first cut easier to diagnose and the next one easier to repeat. Keep the written sequence beside the work during the first setup.
How to use a jigsaw: preflight before the cut
If the tool itself is unfamiliar, start with what a jigsaw is and where it is normally used. Then use the actual saw manual for its controls, blade clamp, permitted cut methods, and safety requirements. The following preflight organizes those model-specific instructions; it does not replace them.
- Isolate the power. Disconnect the cord or battery before installing, removing, or checking a blade.
- Describe the job. Record the material, straight or curved path, visible-edge requirement, and any bevel or interior opening.
- Check the blade interface. Match the shank to the holder and seat it using the saw’s documented procedure.
- Check blade clearance. The blade needs to extend beyond the workpiece through the full stroke; do not test this with the saw running.
- Support and clamp the work. Keep the cut path and offcut clear while preventing the work from shifting or closing on the blade.
- Inspect the path. Look for fasteners, hidden services, unsupported sheet edges, and anything that prevents the shoe from remaining on the surface.
Choose the blade as a six-field record
Do not choose by color or a broad material word alone. Record six fields: work material, cut path, edge requirement, blade application, usable length, and shank interface. For installation details, use the model-specific blade-change checklist. If the holder is still uncertain, compare the tool record with the T-shank family and half-bore family, then verify the named blade rather than assuming a category guarantees fit.
| Decision | What to verify | Why it cannot be skipped |
|---|---|---|
| Application | Published material and cut use | A fitted blade can still be wrong for the work. |
| Path and finish | Straight, curve, visible face, or functional edge | Geometry and tooth direction affect control and surface damage. |
| Length | Clearance beyond the work through the stroke | Static length alone does not prove operating clearance. |
| Interface | Named shank and the actual holder | Visual similarity is not a fit check. |
Set speed and orbital action from the manual, not memory
Speed and orbital action are conditional controls. The cited manufacturer manuals tie them to factors such as the material, blade, cut requirement, and model. Some named manuals describe lower or zero orbital action for particular hard materials, smooth-cut needs, reverse-tooth blades, or grit blades. That is useful evidence for those models, but it is not a universal setting chart.
Use this order: find the manual’s recommendation for the actual model, confirm that the blade supports the application, make a test cut in representative scrap, and change only one variable at a time. Record the setting with the model and blade. “Medium speed” without a model, control scale, material, and blade is not reusable information.
Start the saw and guide the cut in order
Mark a visible line and place the front of the shoe on the supported work with the blade clear of the edge. Hold the saw in the documented grip position. Start it without the blade touching the material, allow it to reach the selected operating state, and then feed the blade into the work. Keep the shoe flat and use light, controlled forward pressure. Extra force is not a substitute for a suitable blade or stable support.
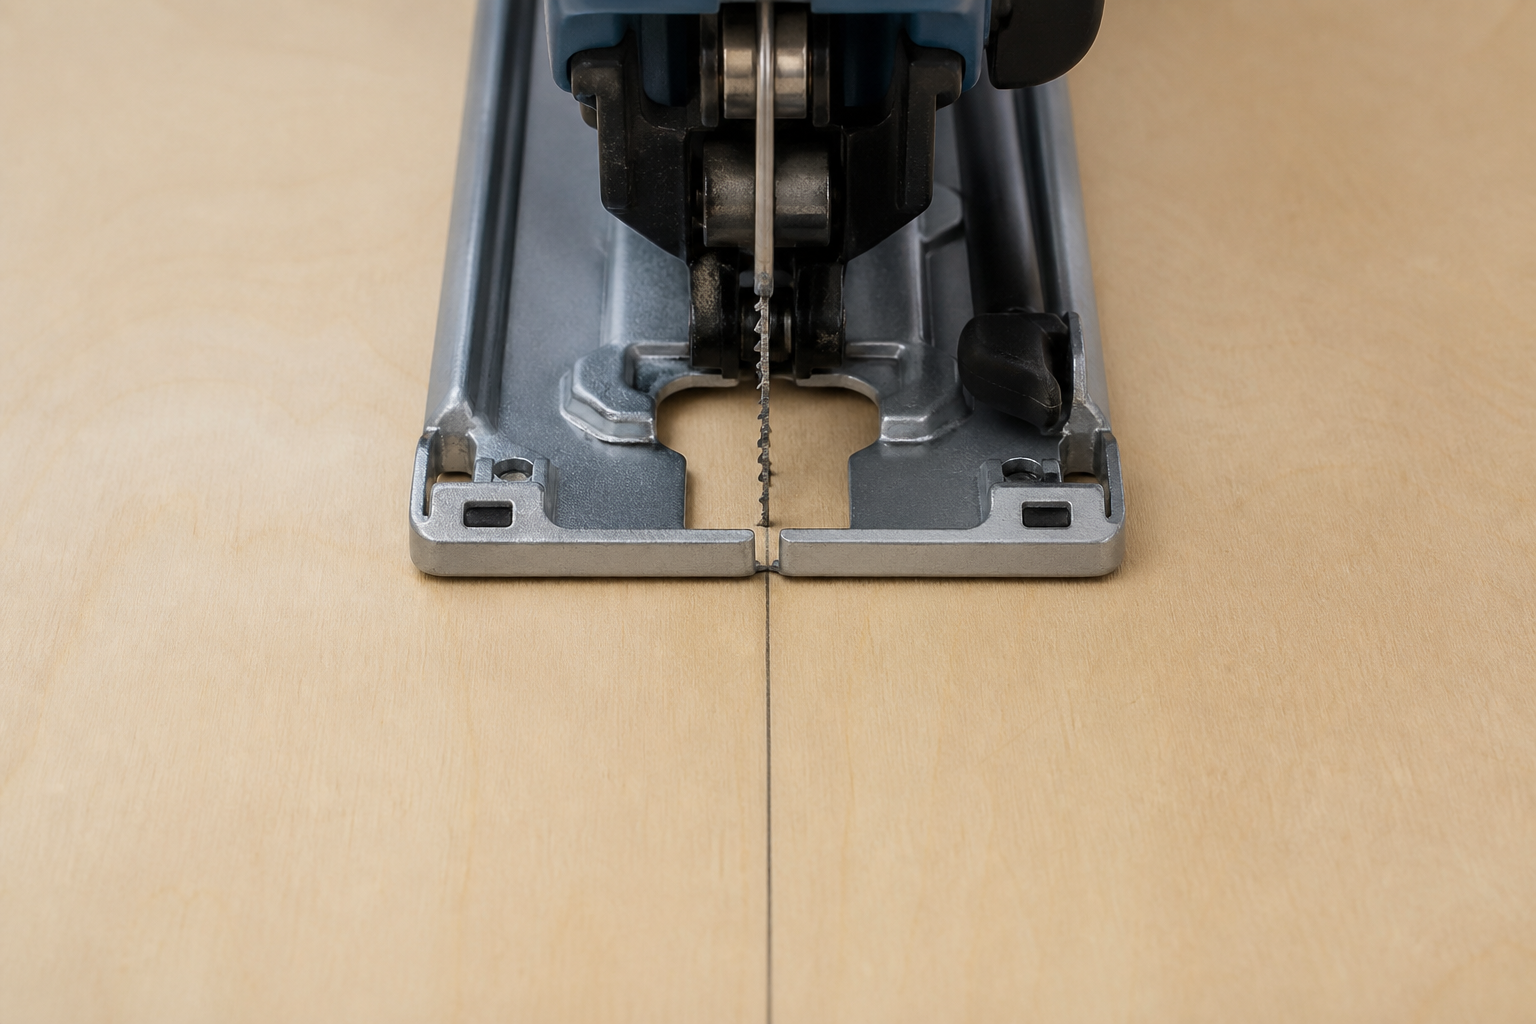
Watch the line ahead of the blade rather than twisting the saw after an error becomes large. If the shoe lifts, the work moves, the sound changes sharply, or the blade begins to wander, stop the cut using the method documented for the tool. Recheck the path, support, blade condition, and setting before restarting.
Change the setup for straight, curved, bevel, and plunge cuts
Straight cuts: a marked line may be enough for a short functional cut, but a compatible straightedge guide can provide a physical reference when the saw manual permits it. Keep the shoe against the work and the guide relationship consistent; do not steer by bending the blade back toward the line.
Curved cuts: use a blade and turn radius suited to the curve, reduce the steering demand, and make relief cuts only when the job and method support them. The separate jigsaw blade guide for curves covers that blade-selection question in more detail.
Bevel cuts: confirm that the shoe locks at the intended position and that blade clearance remains adequate across the stroke. The scale and locking method are model-specific, so verify the angle with the tool documentation and the job’s tolerance requirement.
Interior or plunge cuts: first confirm that the named saw, blade, and manual permit the method. Blind entry adds the risk of contacting hidden wiring, plumbing, or fasteners. Where the documented method calls for a starter hole—especially in hard materials—use that method instead of improvising an entry.
Troubleshoot the symptom instead of forcing the saw
| Observed symptom | Checks to make after stopping | Avoid |
|---|---|---|
| Blade drifts from the line | Work movement, shoe contact, feed pressure, blade straightness, usable length, and curve demand | Twisting the running blade back onto the line |
| Burning or heavy heat | Blade condition and application, setting, feed, debris clearance, and material condition | Assuming more force will cool or speed the cut |
| Strong vibration | Blade seating, holder compatibility, work support, offcut control, and shoe contact | Continuing until the cause becomes obvious |
| Unexpected edge damage | Visible face, tooth direction, blade application, support near the line, and test-cut result | Promising a finish from a blade label alone |
These symptoms do not prove one cause. They narrow the inspection order. If a blade is bent, damaged, loose, or no longer cutting as expected, replace it using the tool’s procedure. If the saw, holder, or power system appears damaged, stop using the tool and follow the manufacturer’s service guidance.
Record the cut before selecting the next blade
After the cut, record the saw model, blade model, material, path, supported length, control settings, and observed result. Note which face was visible, where the work was clamped, and whether the same setup reached a curve or bevel without correction. Keep the reason for every setting change in the same record. That record is more useful than “worked well” because it can be compared with a future job. Once the required fields are known, use the EACHLEAD jigsaw blade category to review relevant families and verify the named product against the actual tool and application.