


How to Change a Jigsaw Blade: Clamp and Shank Checks
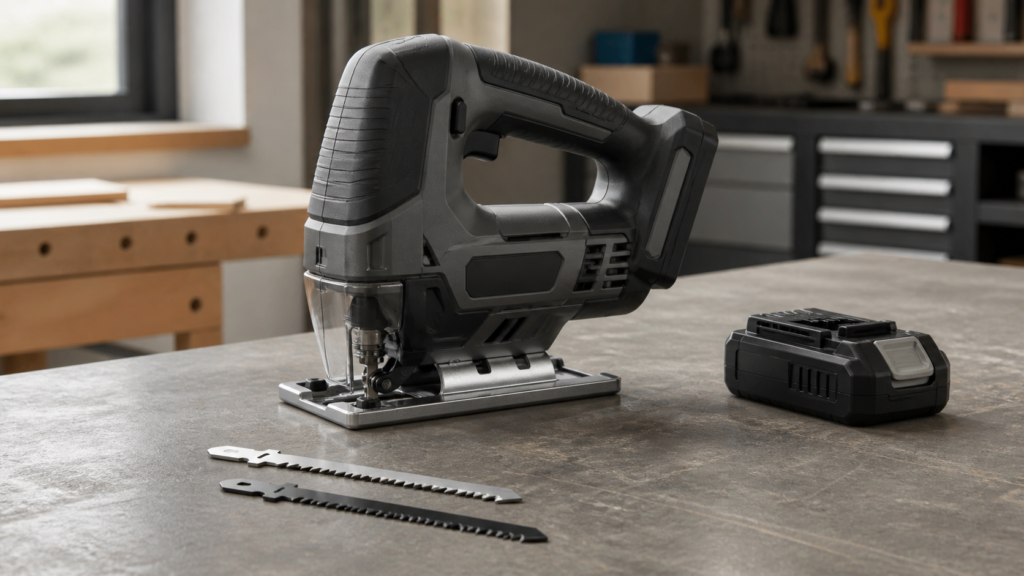
Here is how to change a jigsaw blade safely. Disconnect the tool from power, let a used blade cool, and identify the model’s blade-release system before touching the clamp. Open the release exactly as the owner’s manual shows. Remove the old blade without placing a hand in any ejection path, then confirm the replacement has an accepted shank. Insert the blade fully, align its back with the guide named in the manual, and complete that model’s documented clamp check while power remains disconnected. Do not force a blade that will not seat. Jigsaw clamps differ by model, even between tools from the same manufacturer.
Identify the Jigsaw Before Opening the Clamp
Start with the tool’s full model number, not its color, handle shape, or brand alone. The model plate and owner’s manual tell you whether the saw is corded or cordless, where its release control is located, which shank it accepts, and whether releasing the clamp ejects the blade. If the model number is unreadable or the manual cannot be matched to the tool, pause the jigsaw blade replacement.
For a cordless saw, switch it off, engage any lock-off described by the manufacturer, and remove the battery pack. For a corded saw, switch it off and unplug it. Keep power isolated through removal, installation, and the retention check. A recently used blade can be both hot and sharp, so allow it to cool and wear suitable gloves before handling it.
This model check prevents a common transfer error. Bosch’s DIY guide describes one SDS release for the EasySaw 18 and UniversalSaw 18. The Bosch JS572 family instead has a One-Touch ejection system and accepts T-shank blades, not U-shank blades. DeWalt’s DCS334/DCS335 manual also specifies T-shank blades only.
Match the Clamp and Shank Before You Start
A tool-free clamp may use a lever, cap, sleeve, or cover, but those labels do not make the motions interchangeable. One mechanism may hold the control open while the blade is removed; another may eject the blade when the control reaches a stop. Use the direction and hand position shown for your exact model, and keep the blade’s exit path pointed away from people and finished surfaces when ejection is specified.
A screw clamp is a separate path. Confirm the specified driver, fastener location, loosening sequence, and tightening instruction in the model manual. Do not apply a tool-free procedure to it, and do not guess a torque value or remove adjacent shoe or guard fasteners. If those details are missing, obtain the correct manual before proceeding.
| What you find | What the manual must confirm | Decision |
|---|---|---|
| Tool-free lever, cap, sleeve, or cover | Release direction, whether it must be held, and whether the blade ejects | Follow that model’s release path only |
| Screw-retained clamp | Correct driver, fastener sequence, and tightening requirement | Use the manual’s screw-clamp path |
| T-shaped head on the replacement shank | Explicit T-shank acceptance for the tool model | Continue only after the manual confirms it |
| U-shaped or half-bore end | Explicit U-shank or corresponding interface acceptance | Do not infer fit from another model or brand |
The shank is the interface that the clamp retains. The shank does not describe the blade’s cutting application. A wood-cutting blade with the wrong shank remains incompatible, and a blade that enters partway has not proved a correct fit.
How to Remove the Old Jigsaw Blade
- Stabilize the unpowered tool. Place it where the blade can leave the clamp without striking the bench or your hand. Keep the cutting edge clear.
- Open the model-specific release. Move or hold the control only in the direction shown in the manual. For a screw clamp, loosen only the identified clamp fastener with the specified driver.
- Let the mechanism determine the removal path. The DeWalt DCS334/DCS335 blade can drop out with a slight shake while the release is held open. Bosch JS572 models use an ejection lever. These are examples, not universal instructions.
- Set the blade aside safely. Do not catch an ejecting blade or grip a hot blade. Release or return the clamp control as the manual directs.
If the blade does not release with the specified motion, stop. Confirm that power is still isolated and recheck the manual illustration. Forcing the lever, twisting the blade, or prying inside the clamp can turn a fit problem into clamp damage.
How to Change a Jigsaw Blade and Verify the Clamp
Before you install a jigsaw blade, compare its shank directly with the interface named in the model manual. This check makes the jigsaw blade replacement specific to the tool instead of the package claim. Hold the blade by a safe area, with its teeth facing the cutting direction specified for the saw, and open the clamp using the model-specific control required for insertion.
- Present the shank squarely to the clamp. Avoid levering the blade sideways to make the head enter.
- Seat it to the manual’s full-depth position. DeWalt requires the T-shank to be completely inside the DCS334/DCS335 clamp. A partial insertion is not an acceptable substitute.
- Align the blade support where fitted. On the cited DeWalt models, guide the back of the blade into the guide-roller groove. Follow the component name and illustration in your own manual, because not every support arrangement is identical.
- Close the clamp. Release the tool-free control or tighten the screw clamp exactly as the manual states. Do not add an unlisted torque, thread compound, or improvised spacer.
- Complete the documented clamp check. Keep power disconnected and use only the post-installation verification stated for the exact model. For the Bosch JS572, confirm that the clamp returned to its closed position. For the DeWalt DCS334/DCS335, confirm full shank insertion, guide-roller alignment, and release-latch return.
Reconnect the plug or battery only after every post-installation condition in the exact model manual has been met. For the cited tools, those conditions include the documented clamp or latch position, full seating, and guide alignment where fitted. If any condition remains uncertain, keep the tool unpowered.
If the Blade Will Not Seat or Lock
Resistance is a stop signal, not a reason to push harder. The checks below narrow the problem without claiming a remote diagnosis. Keep the tool disconnected while you compare the blade, clamp position, and manual illustration.
| Symptom | Check first | Safe next action |
|---|---|---|
| The shank stops before full depth | Shank type and whether the release is in the manual’s insertion position | Remove the blade and compare both interfaces; do not force entry |
| The blade enters but pulls out | Full seating and complete clamp return | Repeat the documented insertion once; seek service guidance if retention still fails |
| The blade misses the guide roller | Blade-back alignment for models that use a roller groove | Remove and reseat the blade rather than bending it sideways |
| The release control will not move normally | Correct model instructions and control direction | Keep power isolated and use authorized service or parts guidance |
Do not grind or file a shank to make it enter, substitute a nearby fastener, reset internal clamp parts using instructions for another model, or test a questionable lock under power. This guide also cannot determine whether a worn or damaged clamp is serviceable without inspection. A failed retention check requires repair guidance for the exact tool.
Choose the Replacement After Compatibility Is Confirmed
Once the manual confirms the interface, select the cutting geometry for the material and task. Blade length, tooth form, tooth spacing, and blade width affect application choice, but none overrides the required shank. For a broader view of the tool-and-blade relationship, see what a jigsaw is.
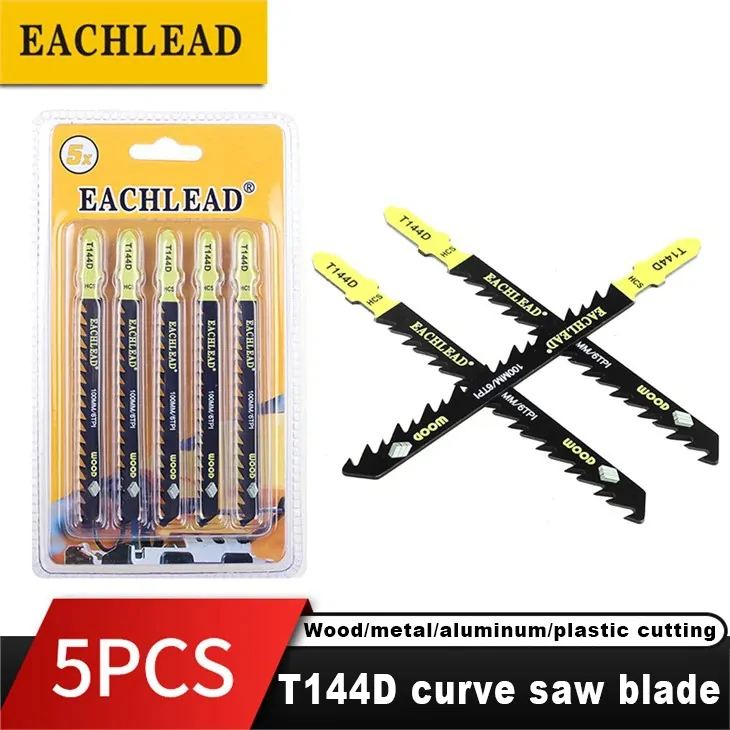
EACHLEAD publishes category pages for jigsaw blades, including T-shank jigsaw blades and half-bore or U-shank jigsaw blades. Browse a family only after the tool manual confirms that shank. Then compare the intended material, cut type, dimensions, and model marking. A category or product image does not prove compatibility with a particular jigsaw.
References
- Bosch DIY, “Changing the jigsaw blade” — EasySaw 18 and UniversalSaw 18 procedure.
- Bosch JS572 Owner’s Manual — clamp, T-shank, guide, ejection, and retention instructions.
- DeWalt DCS334/DCS335 Instruction Manual — T-shank installation and removal.