


How to Cut Plexiglass: Choose a Method for Straight Cuts, Curves and Sheet Thickness
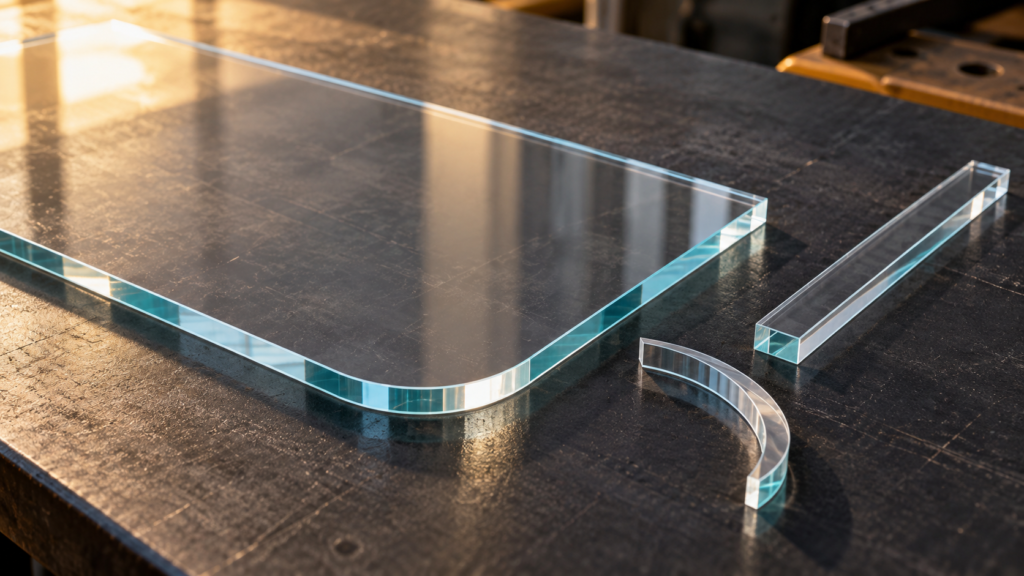
To cut plexiglass, choose the method by the shape of the cut and the sheet you actually have. Score-and-break can suit a straight cut in suitable thin acrylic. A jigsaw handles curves and interior openings; a circular saw or table saw is better suited to long straight cuts with the right support and blade. A sharp blade alone will not compensate for a vibrating sheet or an unsupported offcut.
Before deciding how to cut plexiglass, confirm that the panel is acrylic, also called PMMA. Clear appearance does not establish the material. Check the supplier label and fabrication instructions, especially for coated or specialty sheet. Advice for acrylic should not automatically become instructions for another clear plastic.
Choose how to cut plexiglass by shape, thickness and finish
The best way to cut plexiglass is the method that fits the whole job, not simply the tool already on the bench. Start with the finished outline, then check the sheet manufacturer’s guidance for the grade and thickness.
| Your cut | Method to consider | What must be checked first |
|---|---|---|
| One straight line in suitable thin sheet | Acrylic scoring tool and controlled break | Whether the specific sheet and thickness can be scored; whether the break can be supported |
| Long straight cut or repeated rectangular pieces | Circular saw, table saw or a fabricator’s panel saw | Acrylic-rated blade, safe guide arrangement and support throughout the cut |
| Curve or shaped outer edge | Jigsaw | Blade suitability, turning clearance and sheet support near the moving cut |
| Opening inside a panel | Jigsaw entered through a drilled starter hole | Suitable drilling procedure, blade clearance and support for the piece being removed |
Thickness changes the demands on the method, but there is no single scoring cutoff that covers every acrylic product. A grade-specific fabrication guide is more useful than a generic thickness rule. PLASKOLITE’s OPTIX-L guide, for example, separates straight sawing, curved sawing, interior cuts and score-cutting rather than treating them as interchangeable operations.
Also decide what the edge must do after cutting. A hidden edge, an exposed display edge and an edge intended for later fabrication are different acceptance tasks. Tell a fabricator the required finished size and edge condition before ordering the cut.
Prepare the sheet so it cannot chatter or drop
Keep the manufacturer’s cutting-compatible protective masking in place and mark the cut line clearly. Put the sheet on a stable surface. Support both the retained piece and the offcut without obstructing the blade below the sheet. Clamps must hold the panel without bowing it, and the tool must have an unobstructed route.
Follow the saw manufacturer’s instructions for guards, workholding, eye and hearing protection, and dust control. Disconnect power before changing a blade. A small or awkward piece that cannot be secured safely is a reason to change the setup or have it cut professionally.
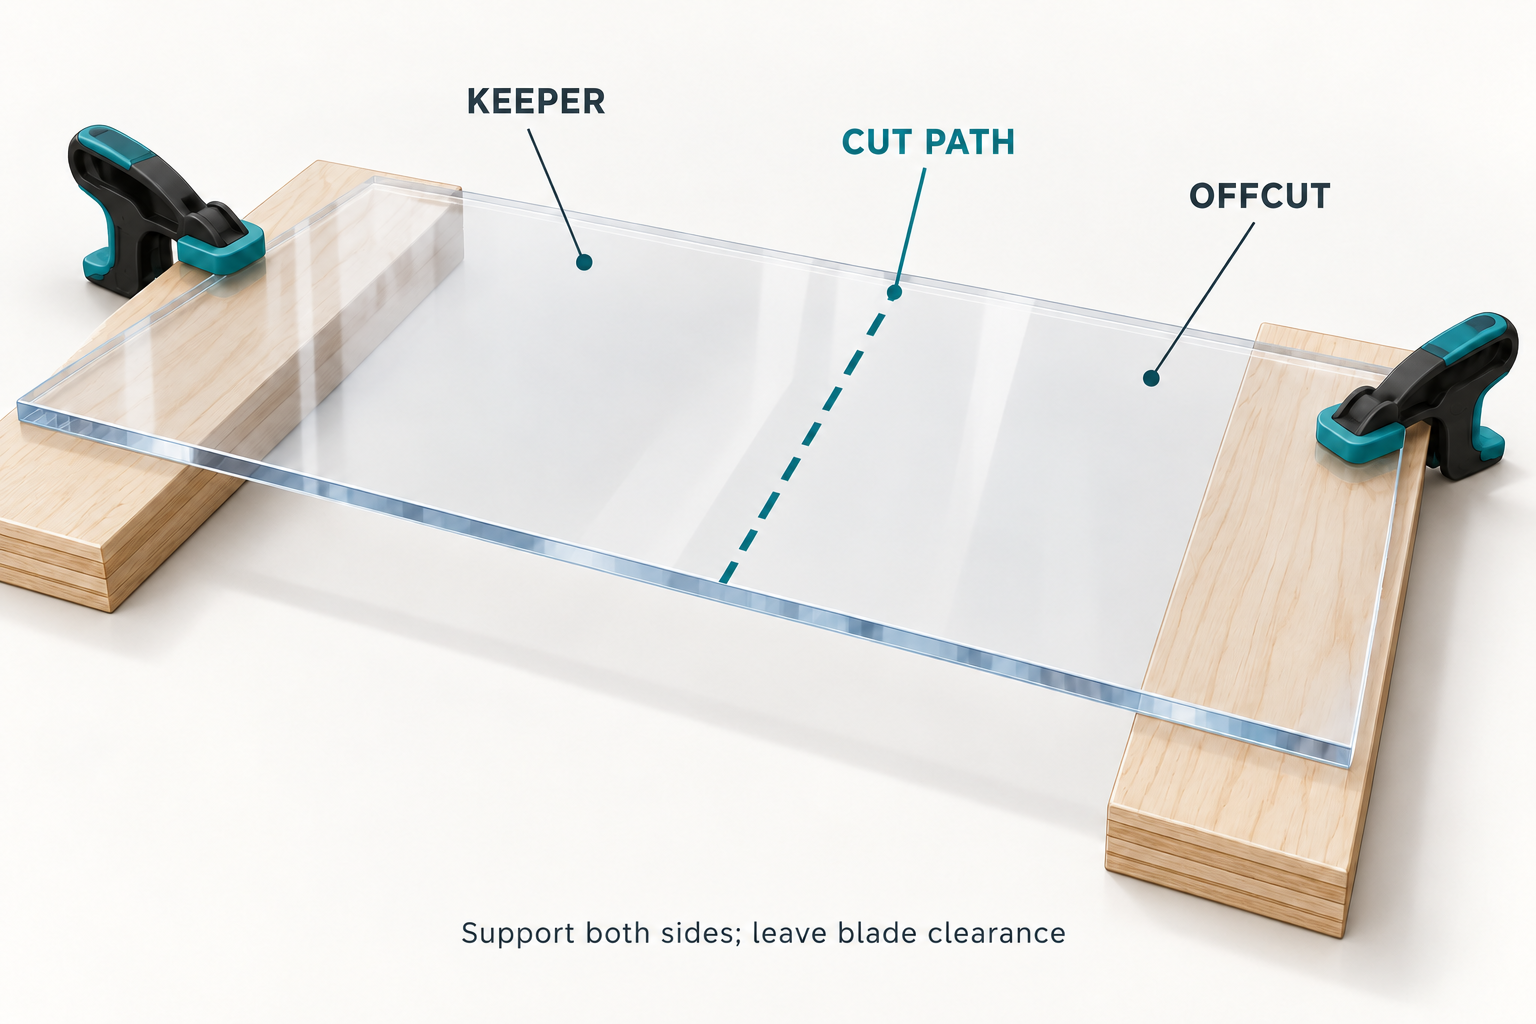
Before the finished panel, make a trial cut on an offcut of the same material. Use it to check the route, stability and edge requirement. That trial is a setup check, not proof that a different thickness or grade will behave identically.
Score and break only when a straight cut suits the sheet
A scoring tool creates a groove for a controlled break; it does not saw through the panel. Use this method only when the sheet supplier permits it for the material and thickness. It does not replace a jigsaw for a curve or an interior opening.
- 1. Establish the line. Secure a straightedge and make the repeated scoring passes specified for the sheet and scoring tool.
- 2. Align the break. Position the score accurately at the supported breaking edge, with the retained panel held flat.
- 3. Apply controlled pressure. Follow the supplier’s breaking procedure. If a trial will not break predictably, change methods instead of forcing the finished panel.
Use a jigsaw for curves and interior openings
A jigsaw brings the cutting path to the workpiece, making it useful for a shaped panel. Choose a sharp blade explicitly suitable for acrylic and your sheet thickness. For the material-selection details, see the plastic jigsaw blade guide.
Tooth pitch needs context. ACRYLITE gives 16 TPI for 1/8-inch (3 mm) sheet and 8 TPI for 1/4-inch (6 mm) sheet as starting examples. These are that manufacturer’s acrylic recommendations, not universal settings or EACHLEAD test results. TPI means teeth per inch.
For an interior opening, use a drilled entry hole suitable for the actual blade and sheet instructions. Keep the saw’s shoe supported and maintain clearance under the work. Follow the marked curve without twisting or forcing the blade around a turn.
Keep the feed controlled and watch the cut rather than assuming the slowest movement is always safest for the material. If chips build up, the sheet vibrates or the edge begins to fuse, stop and inspect the setup. Clear debris only after the blade has stopped.
When comparing EACHLEAD jigsaw blades, verify the model’s acrylic rating, shank, usable cutting length and thickness range. A blade listed for wood or another plastic is not automatically an acrylic recommendation.
Use a guided saw for long straight cuts
Long rectangular cuts need a stable, straight feed as well as a suitable blade. ACRYLITE’s circular-saw guidance emphasizes close sheet support, firm hold-down and sharp blades dedicated to acrylic. It also distinguishes blade setup by the equipment and sheet thickness.
Use the tool’s approved guiding and guarding arrangement; do not improvise a fixture that interferes with either. Support the material throughout the cut and keep the feed even. If the motor labors, the panel lifts or excessive vibration develops, discontinue the cut and switch off.
Industrial feed-rate and blade-clearance tables are not universal settings for a handheld saw. For a large sheet or repeated precision parts, a fabricator with appropriate panel-cutting equipment may be the more suitable route.
Diagnose chips and melting before changing the blade
Chipped or cracked edges: check sheet vibration, support near the cut and blade suitability first. ACRYLITE notes that a finer tooth pitch can help chipping in its jigsaw guidance. That does not mean the finest available blade is right for every thickness.
A fused or gummy edge: check sharpness, chip clearance and heat buildup. The same manufacturer suggests trying fewer teeth when melting occurs. Simply increasing TPI can address the wrong problem; the correct change depends on the sheet, blade and cut.
An unfinished but sound edge: sand progressively if the intended finish calls for it. Do not confuse polishing with repairing a cracked panel. Inspect the edge and fit before removing all masking and putting the part into service.
For the next cut, record the material grade, thickness, tool, blade and visible result. Change one relevant setup choice at a time on scrap. This makes a successful method repeatable without turning one good cut into a claim about every acrylic sheet.