


How to Use a Jigsaw: Blade Choice and Cutting Control
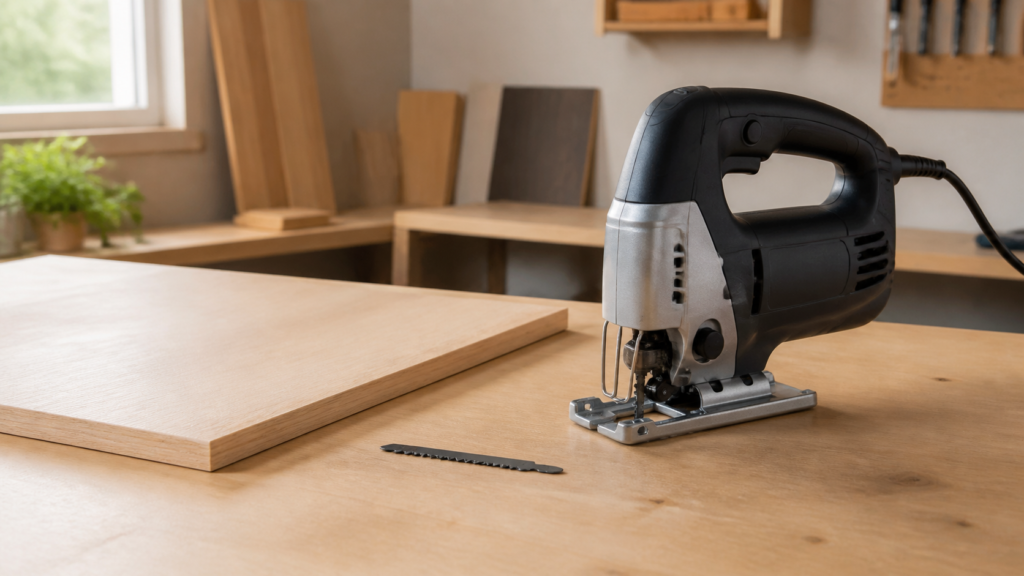
How to use a jigsaw starts with defining the cut, then checking the blade, work support, baseplate position, and feed control as separate steps. A jigsaw can follow a straight line or a curve, but the tool does not make those decisions for you. The blade has to suit the named workpiece and the saw, the board has to be supported, and the baseplate has to stay in contact with the work while the saw is guided through the line.
That sequence is more useful than treating “jigsaw cutting” as one instruction. A blade that looks plausible can still be the wrong interface or geometry for the job. A marked line does not help if the work shifts. And pushing the tool to make it cut faster can hide the point at which the setup should be reviewed instead.
How to use a jigsaw: define the cut before choosing the blade
Start with the workpiece and the result you need to control. Record the material, the path of the cut, and whether the edge is visible or only functional. Then ask what the saw must physically reach and which holder is on the tool. Those details turn a broad request for a “jigsaw blade” into a model-level check.
A jigsaw is useful when its maneuverability matches the shape of the cut. It is not automatically the best answer merely because a board has a line on it. If the task calls for a long, highly controlled straight cut or the workpiece presents a condition outside the intended setup, stop and decide whether the jigsaw is still the appropriate tool before trying to force the cut.
Select and secure a named blade
Choose the blade after the cut has been described, not before. Compare a named model’s published application with the material and cut requirement. Then confirm the shank against the actual jigsaw holder. Material family, tooth form, usable length, and shank are separate fields; none of them can replace the others.
Install the blade according to the saw’s own instructions and check that it is seated before bringing the saw to the work. This article does not replace a model-specific blade-change procedure. If the clamp or shank is uncertain, use the tool documentation and resolve that question before cutting.
Support the work and align the baseplate
Make the line visible, support the work so it will not move into the blade path, and place the baseplate flat on the surface before starting the saw. The baseplate is the reference surface that helps the operator guide the tool; it should not be treated as an optional touch point after the blade has already entered the material.
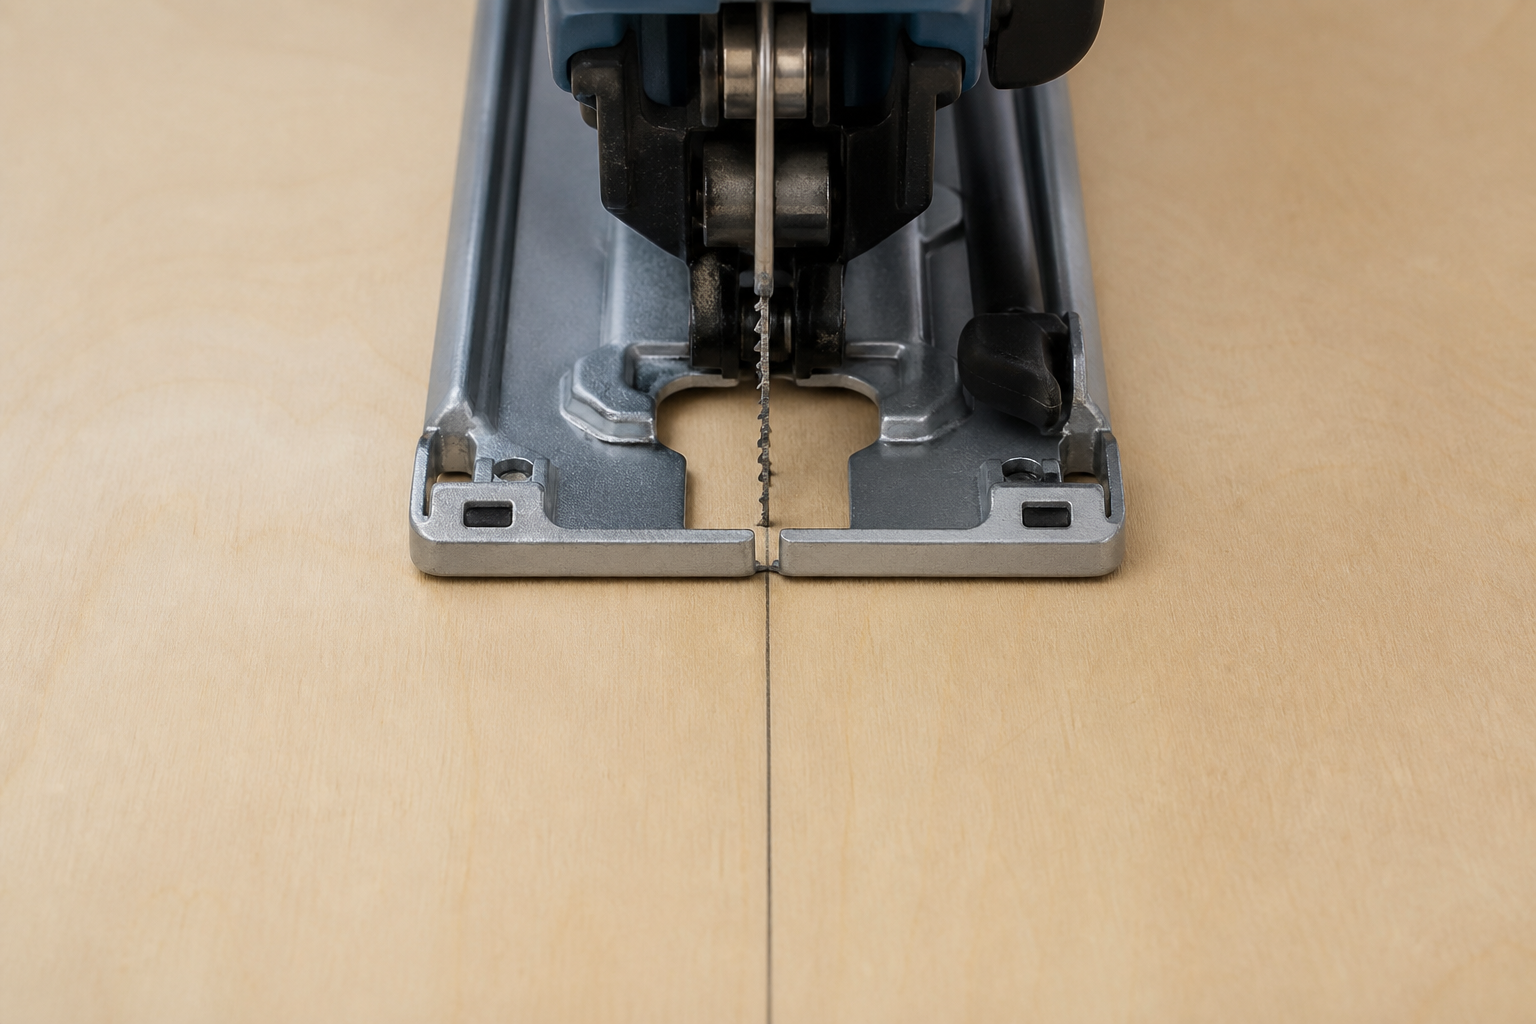
Before you start, look at the whole path rather than only the first inch. Check where the offcut will be supported, where the cord or battery tool will travel, and whether the baseplate can remain in contact with the surface. This is a planning check, not a guarantee that every material or shape will cut the same way.
Guide the saw instead of forcing it
Once the blade is running and the baseplate is supported, guide the saw along the line with controlled forward pressure. Bosch’s jigsaw guidance similarly emphasizes holding the saw firmly and moving it forward in a controlled way. Let the tool’s movement and the blade’s engagement tell you whether the setup is working; do not use extra force as a substitute for a blade or support check.
For a curve, turn the tool gradually and keep the baseplate in contact with the work. For a straight path, follow the marked reference and pause if the blade begins to depart from it. A pause is useful information: it can mean the work is moving, the line is hard to see, the tool is being pushed, or the chosen blade/model needs to be reviewed. Correct the condition rather than pulling the saw back onto the line while it is still under load.
Review the cut before repeating it
After the first cut, inspect the path and edge in the context of the job. If the result does not meet the required shape or edge expectation, record what changed: the material, support, tool interface, blade model, or cut path. That record makes the next model check more useful than simply ordering another blade with a similar-looking label. It also prevents a repeat cut from turning a setup uncertainty into a vague blade complaint.
When you have the workpiece, cut requirement, and tool interface defined, use the EACHLEAD jigsaw blade category to compare relevant families and then verify the named model. The category is a route to review, not a statement that every listed blade fits every jigsaw. Keep the first-cut notes with the named model so the next setup begins with evidence rather than memory.