


Hacksaw Blade Holders: Fit, Tension, and Replacement Checks
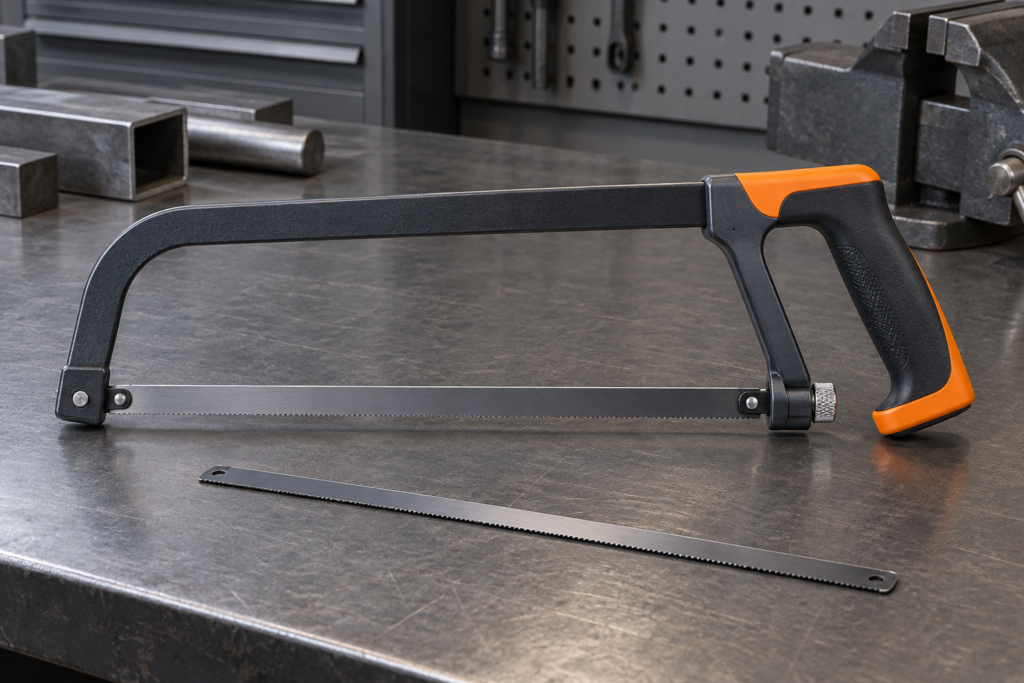
A hacksaw blade holder is not just the place where a blade happens to attach. It locates the blade, keeps its mounting points engaged, and works with the frame’s tensioning mechanism to hold the cutting line straight. If any part of that interface is wrong, changing the tooth pitch or blade material will not fix the underlying fit problem.
For replacement work, check the frame first. Identify the tool type, inspect the mounting pins or clamps, confirm the installed blade length, and make sure the tensioner still has useful adjustment travel. Only after those checks should you choose TPI, material, and application.
How a hacksaw blade holder and tensioner work
The holder’s first job is retention. On a conventional hand hacksaw, holes near the ends of the blade engage pins or other mounting features. Other designs may use clamping surfaces or a removable holder. The important point is that the blade must seat positively at both ends without being forced sideways.
The frame and its tensioning mechanism perform a different job. Tightening the wing nut, lever, or handle-integrated adjuster pulls the installed blade into tension. That tension should make the blade straight and stable enough for the frame’s intended use. It does not compensate for the wrong blade length, damaged mounting holes, bent pins, or a holder that cannot align the blade.
Frame mechanisms vary. Manufacturers currently describe high-tension, heavy-duty, adjustable, lever-tensioned, and tool-free-change frames. Those labels describe a particular frame design; they do not create a universal blade interface. Treat the frame model or its manual as the controlling record.
Four checks before ordering a replacement blade
1. Confirm the tool format
Separate a full-size hand hacksaw from a junior hacksaw, pad saw, power hacksaw, or specialist holder. A blade intended for one format may look similar in a product image but use a different installed length, mounting arrangement, width, or stiffness. Record the frame manufacturer and model whenever that information is visible.
2. Inspect the mounting interface
Use the applicable frame instructions to identify the released position and removal method before touching the old blade. Then compare both pins, studs, slots, or clamps with that manual and record anything that prevents full seating. Inspect the blade holes as well. If an end is damaged or cannot engage securely, treat the interface as unresolved rather than inferring a workaround or applying tension.
3. Record the installed length
Use the frame specification where available. If you must measure the removed blade, record the published nominal length and the mounting-hole relationship separately. A nominal 12-inch or 300 mm description is useful, but it should not replace confirmation that both ends engage and the tensioner operates within its normal range.
4. Check useful tension travel
Before fitting a new blade, identify the released position and adjustment procedure specified by the frame instructions. After both ends are seated, follow that model-specific procedure; do not infer a tension setting from nominal blade length. Treat a blade that pulls off a pin, shifts to one side, remains visibly bowed, or reaches the end of the adjuster as a compatibility or service issue to resolve against the manual.
| Observed symptom | Check first | Do not assume |
|---|---|---|
| Blade will not reach both mounts | Tool format and installed length | Extra tension will make it fit |
| Blade slips off one pin | Pin alignment and hole condition | A coarser TPI is the solution |
| Blade sits at an angle | Holder seating, bent mounts, and frame damage | The blade is simply “flexible” |
| Adjuster bottoms out | Blade length and tensioner condition | Every blade with the same nominal length is identical |
| Blade fits but cuts poorly | TPI, material, tooth direction, and work support | The holder is necessarily faulty |
Separate frame fit from blade selection
Once the mechanical fit is confirmed, select the cutting specification. Compare TPI and blade construction with the named blade’s application information and the workpiece section. Tooth direction should follow the frame and blade instructions. Do not turn a general pitch rule into a promise for an unlisted model.
This separation matters in purchasing. “Fits a 12-inch hacksaw” is not a complete line item. A better record includes tool type, nominal blade length, mounting-hole or end detail, blade width and thickness if specified, TPI, material, and the material being cut. The EACHLEAD hacksaw blade category can be used to compare currently listed blade specifications without treating a product-family page as proof of holder compatibility.
A practical replacement sequence
- Use the applicable frame instructions for preparation and blade-tension release; if the instructions are unavailable, stop at identification rather than inferring a release method.
- Photograph or record the old blade’s orientation before removal.
- Inspect the frame, holder, pins, clamps, tensioner, and old blade holes.
- Compare the new blade’s tool type, length, end detail, width, thickness, TPI, and material with the approved record.
- Seat both ends before applying tension; do not use the adjuster to force a mismatched blade into place.
- Apply tension only according to the frame instructions, then verify that the blade is straight and secure.
- If the frame instructions call for a trial cut, follow their stated work-support and inspection conditions; otherwise, obtain the applicable service guidance before returning the tool to production use.
A holder keeps the blade aligned only when the blade, mounts, frame, and tensioner are all compatible and serviceable. If the frame is damaged or its instructions are unavailable, identify the frame before ordering a replacement rather than converting a nominal size into a compatibility promise.