


Flush-Cut Jigsaw Blades: Geometry, Tool Fit, and Use Cases
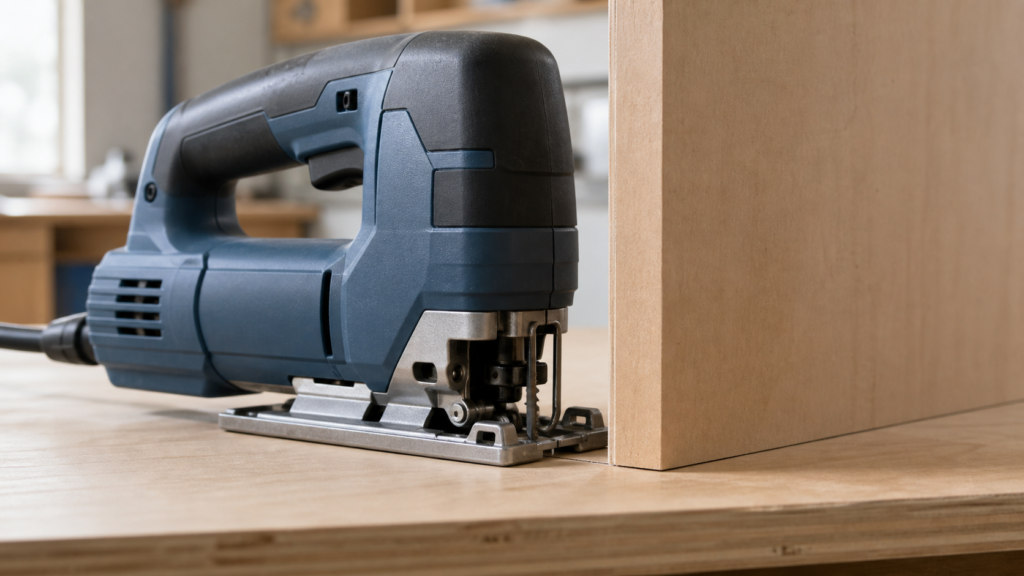
A flush cut jigsaw blade extends the cutting reach toward the front edge of the saw’s shoe. This geometry can help finish a cut close to a wall, cabinet side, backsplash, or another vertical obstruction. Flush cut jigsaw blades still require tool-specific checks; a matching shank alone cannot prove that the complete setup will work.
Confirm three interfaces before ordering: the blade shank and clamp, clearance for the forward-reaching blade body through its full stroke, and the setup allowed by the exact tool manual. After those checks pass, match the teeth and blade construction to the workpiece. This order avoids selecting a blade by the words “flush cut” while ignoring the machine around it.
What makes a flush cut jigsaw blade different?
The main difference is usable reach. A standard jigsaw blade usually sits behind the leading edge of the shoe. The shoe can therefore meet an obstruction before the teeth reach the end of the required cut. A purpose-built flush cutting jigsaw blade moves the working edge farther forward, reducing that conflict when the tool design leaves enough space.
Blade geometry is only one way to create front access. Some jigsaws use a base that can slide rearward for an approved front-flush setup. Makita documents this sliding-base arrangement for the 4326 and 4327 jigsaws. Other manufacturers pair a special forward-reaching blade with named jigsaw models. The correct method depends on the machine, so the tool manual should decide whether the buyer needs a specialty blade, a base adjustment, or another cutting method.
Treat practical clearance as a measured value. The blade body, shoe opening, insert, obstruction shape, and direction of travel define the closest approach. A sketch of the joint or a photograph of the access condition is more useful than a purchase line that says only “flush blade.”
Show the obstruction distance from the intended cut line, the front shoe opening, any removable insert named by the manual, and the blade’s full-stroke envelope. Mark the area that will support the shoe and identify the exact jigsaw model. An underside photograph can reveal an insert or closed opening that a side view hides. These details let a supplier reject an incompatible geometry before making or shipping a sample.
Check three interfaces before calling it compatible
A compatible flush-cut blade must seat correctly, clear the front structure, and operate within the tool manufacturer’s instructions. Treat these as separate jigsaw blade compatibility checks. Passing the first does not waive the other two.
| Interface | What to verify | Why it can fail | Useful evidence |
|---|---|---|---|
| Shank and clamp | Shank family, tang dimensions, seating depth, and guide-roller engagement | A similar-looking tang may not lock or track correctly | Tool manual, shank drawing, and approved sample |
| Front blade path | Open path for the blade’s full forward-reaching profile through its full stroke | The shoe opening or an insert may block the forward body | Front and underside photographs with the tool switched off |
| Approved tool setup | Base position, permitted accessories, and operating mode | A blade can physically enter the clamp but conflict with the manufacturer’s setup | Instructions for the exact jigsaw model |
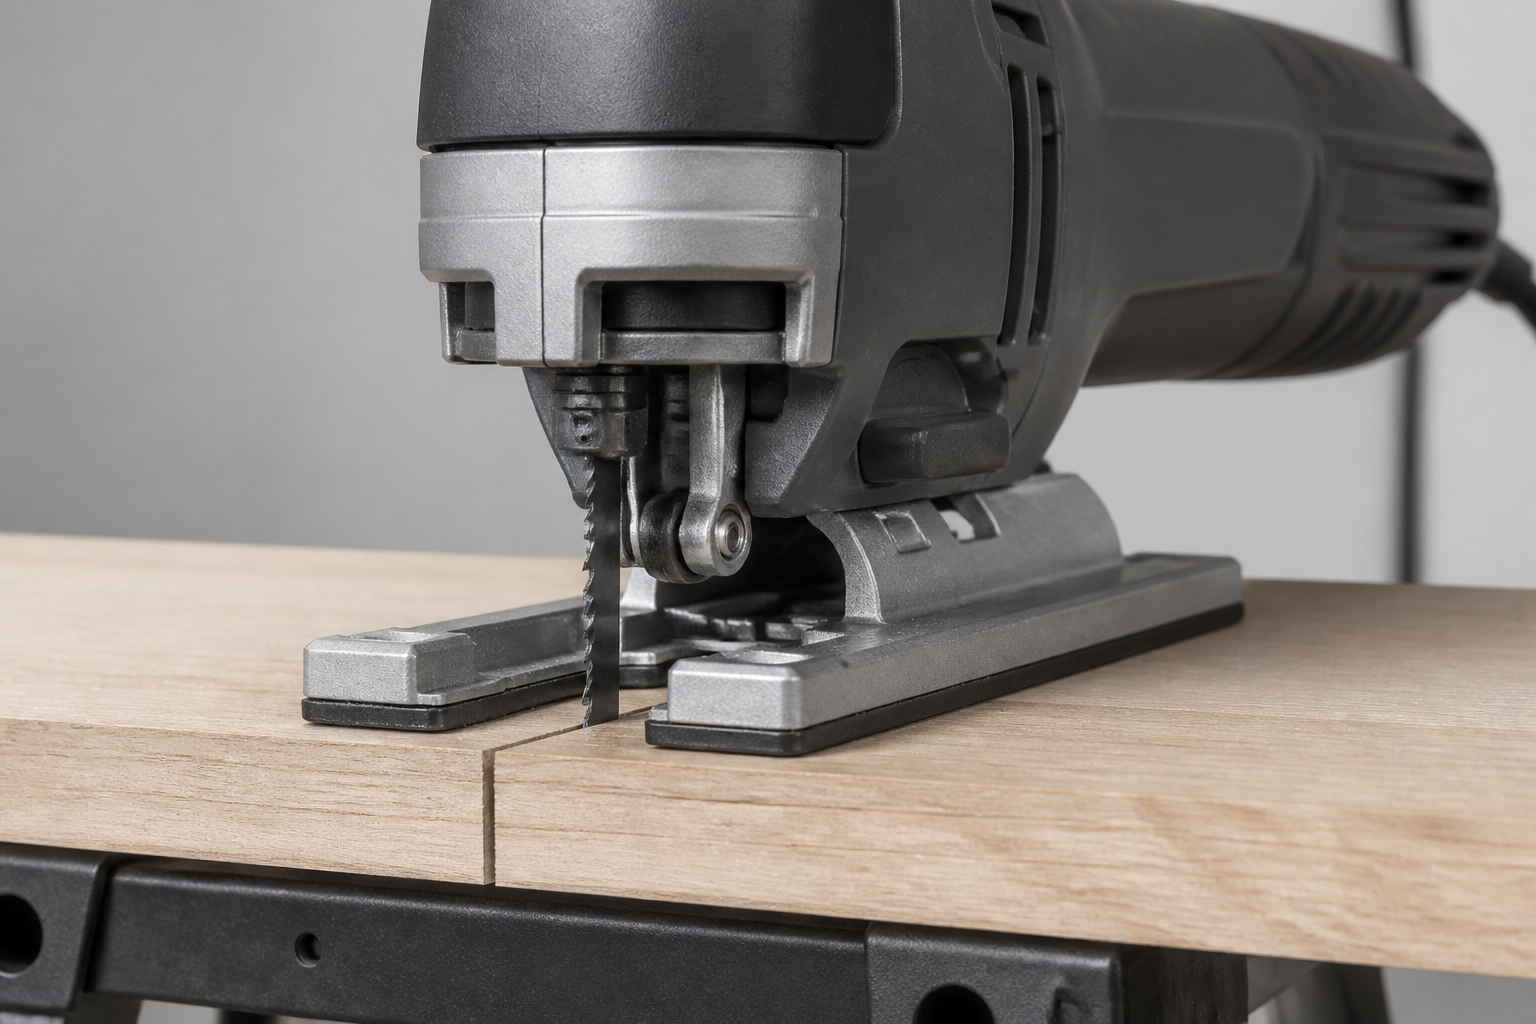
A T-shank label identifies only the shank family in the first row; verify tang dimensions, seating depth, and guide-roller engagement separately. Buyers who need that interface can review the T-shank jigsaw blade range, but they still need the forward-path and manual checks. Use only the insert position, base position, and accessory arrangement documented for the exact tool.
For drawing-based sourcing, dimension the forward reach from a stable shank datum rather than from a catalog photograph. Add the blade-body width and the minimum clear opening at the shoe. These fields let the supplier compare geometry before a physical sample reaches the tool.
Where flush-cut geometry helps—and where it does not
Flush-cut geometry addresses an access problem. It can be relevant when a normal shoe reaches a wall or vertical panel before the blade completes a straight cut. Manufacturer instructions also use backsplash-style obstacles as an example. The workpiece must still support the shoe, and the blade needs a safe path through its full stroke.
Evaluate access and cut quality as separate requirements. Blade stiffness, tooth form, work support, feed direction, machine condition, and operator control still affect squareness, surface finish, and the remaining gap. Flush-cut access does not convert a jigsaw into a precision straight-cut machine.
Start and finish methods also remain machine-specific. The DEWALT DC308/DC318 manual states that the DW3311 flush-cutting blade should not be used to start the cut because it prevents the shoe from being supported by the work surface. Treat that as a model-specific instruction. The tool model and manual belong in the selection record.
Match teeth and blade construction to the material
After tool fit is confirmed, select the cutting edge from the workpiece. Record the material, thickness range, cut direction, required face quality, and whether the stock contains coatings, laminates, or hidden fasteners. Treat “flush cut” as the access geometry, then choose the teeth separately for wood, plastic, laminate, or metal.
A manufacturer example illustrates the limit of shorthand specifications. Bosch lists its PRO Wood precise T144DP as an HCS blade with 6 teeth per inch (TPI) for softwood and non-abrasive woodworking materials. This source is used only as a model-specific tooth-and-material example; it does not establish flush-cut geometry or compatibility. A flush-cut application may require a different tooth form, pitch, body construction, or cutting direction, so buyers should not reuse one model’s data as a default.
The acceptance test should use representative stock and the actual jigsaw. Record whether the shoe remained supported, whether the blade cleared the obstruction and front structure, and whether the edge met the drawing or installation requirement. Note deflection, chipping, heat marks, and any contact between the blade body and tool. These observations define the application more clearly than “fits” or “does not fit.”
Build a buyer-ready flush-cut blade specification
A supplier needs enough information to evaluate both the machine interface and the cutting task. Use one controlled record for quotation, sampling, and approval:
- Tool: manufacturer, exact model, clamp type, and relevant manual page.
- Front geometry: shoe opening, any insert or accessory position named by the manual, full-stroke clearance, and required distance to the obstruction.
- Workpiece: material, thickness range, coating or laminate, and hidden-fastener risk.
- Blade: shank drawing, forward-reach geometry, overall dimensions, construction, tooth form, TPI, and cut direction.
- Approval: sample quantity, test tool, support method, acceptance criteria, and approved revision.
The EACHLEAD jigsaw blade range provides a starting point for comparing shank families, blade materials, and tooth specifications. If the project requires a purpose-built flush-cut geometry, identify it explicitly in the inquiry and confirm it against the tool and an approved sample. The public category alone does not establish that every listed model can perform a front flush cut.