


Why a Fresh Planer Blade Can Chip During Setup—and What to Check First
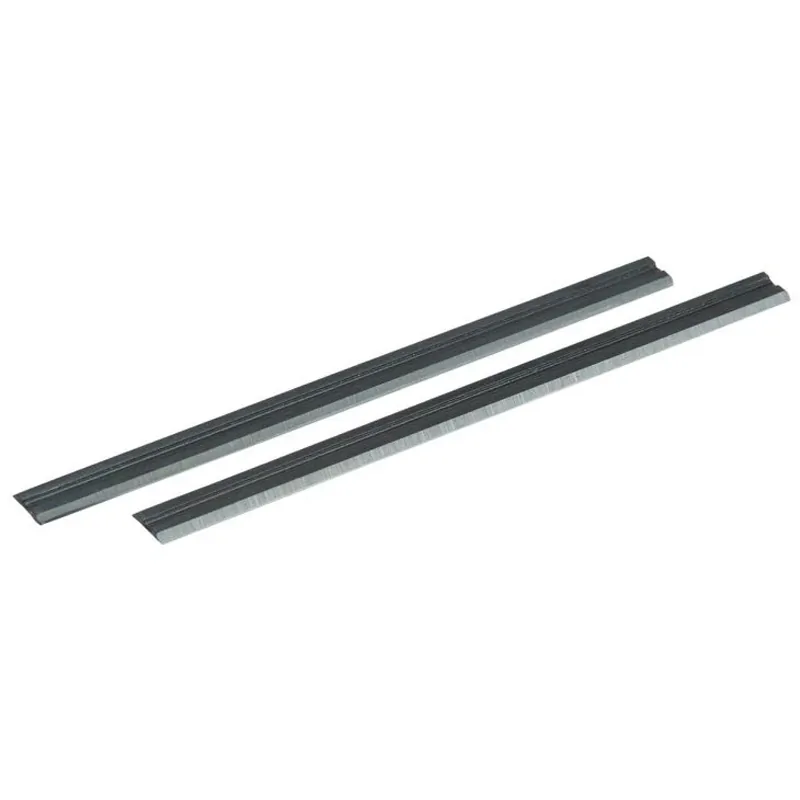
A fresh planer blade that appears damaged on its first pass is a stop-and-inspect event, not a reason to guess at a new setting. First confirm whether the cutting edge has actually lost material. Then inspect the seating stack and the stock before changing any machine adjustment.
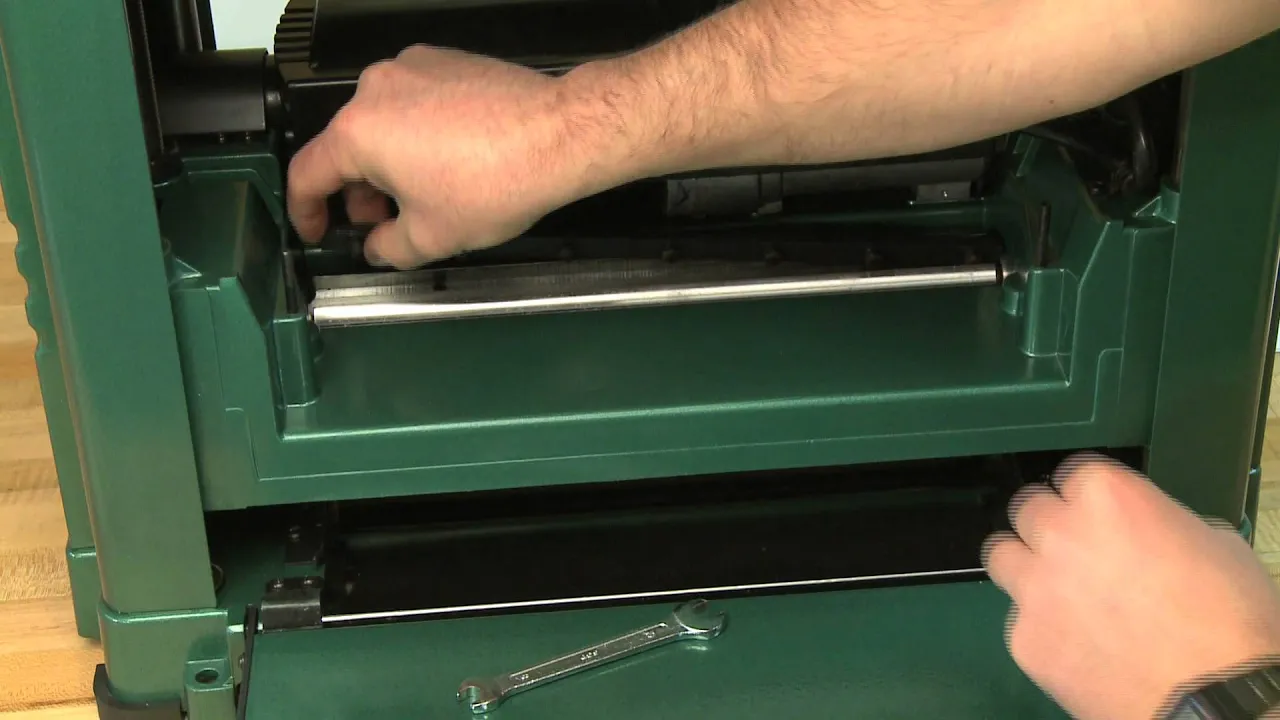
For a portable planer, the published installation procedure matters more than a generic rule of thumb. Grizzly’s procedure, for example, starts with disconnecting power, cleaning the cutterhead slots and gibs, positioning the knife correctly, and tightening the gib bolts progressively. Your planer’s manual remains the authority for its own settings and parts.
Confirm the symptom before naming the cause
“Chipping” can describe two different observations: a nick in the knife edge, or a defect left in the board. They deserve different next checks.
| What you can observe | What it may indicate | Sensible next action |
|---|---|---|
| A visible nick or break in the cutting edge, often paired with a repeating ridge | The edge itself has been damaged, or the knife was not seated/clamped as intended | Stop using the setup; inspect the knife, slot, gib, and clamping sequence against the model manual. |
| Tearout, chatter, or rough areas while the edge appears intact | A surface-quality problem rather than proof of a fractured edge | Inspect the edge first, then use the machine documentation for roller, chip-breaker, or other model-specific checks. |
| A dent or mark that resembles a chip in the board | A workpiece symptom that may not identify the knife as the failed part | Preserve the affected stock and inspect the cutterhead area and chip flow before deciding the knife chipped. |
Woodweb’s troubleshooting discussions make the useful distinction here: surface defects can be connected with machine setup or chip handling, while exact machine settings belong in the applicable manufacturer documentation. A mark in wood is not enough evidence to declare a replacement knife defective.
Inspect the seating stack before another pass
Disconnect the planer from power and follow the service instructions for the exact model. For a portable-planer procedure, the following inspection order is practical:
- Expose and clean the interface. Remove dust, chips, or buildup from the knife slot and the gib/clamp surfaces. Grizzly explicitly includes cleaning these parts before installing a knife.
- Confirm the knife’s orientation and seating. Check the bevel direction and make sure the locating or setting aid specified for the machine sits squarely. Do not substitute a guessed projection or height for the model’s instructions.
- Review the clamping sequence. Where the manufacturer calls for progressive tightening, follow that sequence rather than fully tightening one point first. Grizzly’s example begins near the center and works outward.
- Recheck every knife in the cutterhead. A single blade can be the visible symptom, but all installed knives and clamps need the same documented review before a test run.
- Reassemble safety parts and test only as documented. Refit the guard, chip deflector, or dust hood required by the machine. If the manual calls for a check before use, complete it before feeding stock.

This is an inspection sequence, not a tolerance specification. It does not establish a correct knife height, tightening value, blade life, or machine setting for another planer model.
Sort the likely cause category
Once the actual edge and the seating stack have been checked, keep the remaining possibilities separate. That avoids treating every first-pass defect as either “bad blades” or “bad setup.”
| Category | What to look for | What the evidence supports | What not to assume |
|---|---|---|---|
| Knife seating or clamp interface | Dirt, pitch, chips, an incorrectly oriented knife, a setting aid that does not sit squarely, or a clamping sequence that does not match the manual | These are inspection points in a published portable-planer installation procedure. | That any one point proves why the edge fractured. |
| Board-surface symptom | Tearout, chatter, or dents with no confirmed loss at the cutting edge | These symptoms can call for model-specific setup or chip-flow investigation. | That the knife must be replaced without inspecting it. |
| Stock condition | Coating, reclaimed material, embedded debris, finger joints, knots, or an unexplained hard area | Community reports make these useful leads for inspection. | That a material category is automatically the cause on every job. |
| Machine-model setup | Repeated surface defects after the knife is confirmed intact and properly installed | The right next source is the machine maker’s specification for rollers, chip breaker, cutterhead, and service method. | A web article can supply the correct setting for an unknown model. |
A note on “light” test passes
Reader reports often mention light passes immediately before ridges appear. That is a clue to document, not a universal diagnosis. Record the stock, the observed edge condition, and the exact machine model; then compare the installation with its manual before changing a setting or blaming the replacement knife.
Record the facts that make replacement support useful
If the edge is confirmed damaged or the knife must be replaced, collect the details that let a supplier and the tool documentation address the same part:
- planer make and exact model;
- whether the knife is reversible and which edge was installed;
- knife length, width, thickness, and any mounting or locating features;
- cutterhead and clamp/gib arrangement, plus clear photos where permitted;
- the stock condition and first-pass symptom; and
- the manual’s part reference or documented replacement method.
For a structured measurement record, see what to measure before ordering a replacement planer blade. If the knife uses locating features, also review which mounting holes matter on a planer blade order.
When a replacement enquiry is the next step
EACHLEAD’s Planer Blades category is a practical starting point when you already know the tool and the verified knife requirements. The live catalog includes a listed HCS planer-blade product, but a listing is not proof that it fits your planer or resolves an installation fault. Confirm the tool documentation, dimensions, mounting arrangement, and intended use before treating any replacement as a match.

The best enquiry is therefore evidence-led: provide the records above and ask for a matching-specification review. If the knife is intact and the board defect persists, the more relevant next step may be machine-model service guidance rather than a blade order.
References
- Grizzly: how to install blades on a portable planer — installation sequence, cleaning, orientation, and progressive gib-bolt tightening.
- Woodweb: troubleshooting planer setup and tearout — conditional discussion of chatter, tearout, and model-specific factory settings.
- Woodweb: “Chip Dent” in Planed Lumber — distinction between a board mark and a confirmed knife-edge failure.