


Parts of a Hammer: Names, Functions and a Labeled Diagram
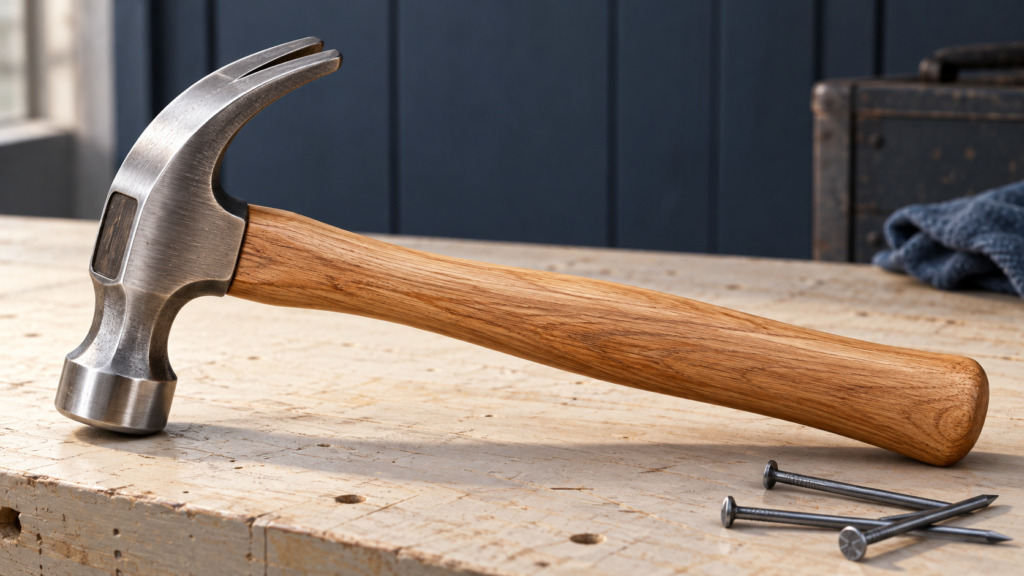
The main parts of a hammer are the head and handle. On a common claw hammer, the head includes the striking face, side cheeks and curved or straight claw. The grip is the region you hold. A separately fitted handle also enters an opening in the head called the eye.
Those names do not all describe detachable components. A face is a surface, a cheek is a side region, and a grip may be part of the handle or a separate covering. The diagram below uses a wooden-handled claw hammer; other hammer types and one-piece constructions change the picture.
Parts of a hammer: a labeled claw-hammer diagram
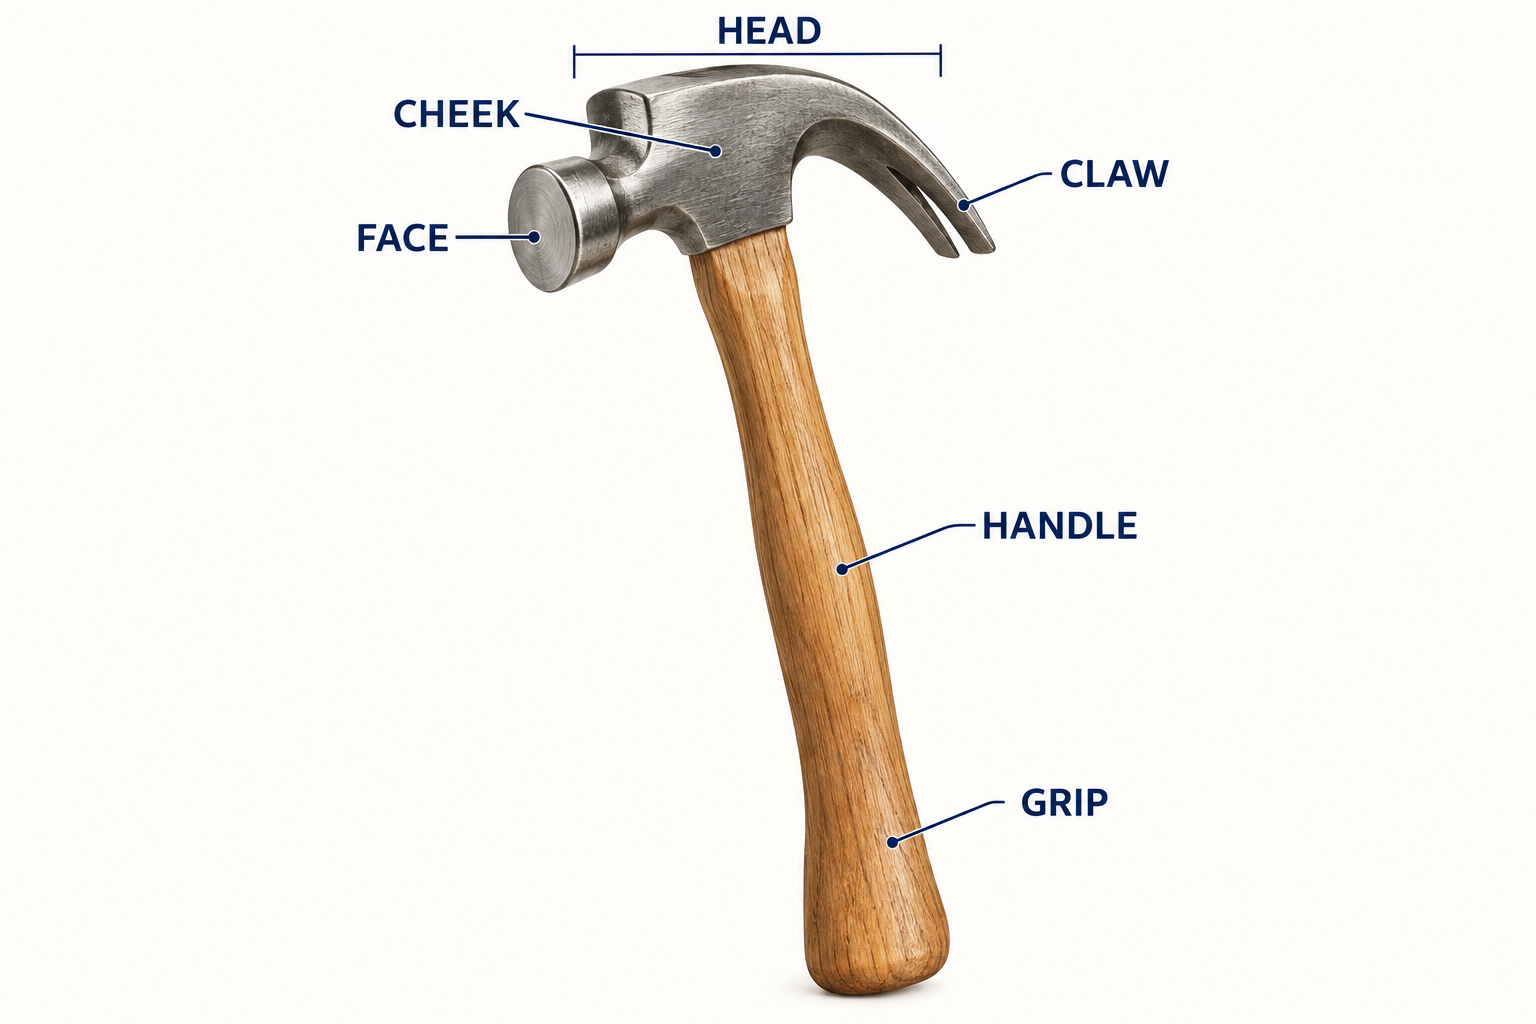
Read the labels at two levels: the head and handle describe the large structures; face, cheek, claw and grip identify particular regions. This makes the drawing useful without suggesting that every label can be ordered as a spare part.
| Name | Where to look | What it identifies |
|---|---|---|
| Head | Upper metal structure | The working end, including its surfaces and projections |
| Face | Striking end of the head | The contact surface |
| Claw | Forked end opposite the face | The nail-pulling feature on a claw hammer |
| Cheek | Side of the head | A side surface, distinct from the face |
| Handle | Long structure below the head | The holding and leverage structure |
| Grip | Holding region of the handle | The hand-contact region or its covering |
| Eye | Inside the head-to-handle joint | Opening receiving a separately fitted handle |
Some diagrams also label a narrow connecting region as the neck. Check the illustrated location and the manufacturer’s terminology before using that word to identify a particular model. The term alone is less precise than a marked photograph.
The head is the working end; the face is its contact surface
Confusing head and face can make a tool description ambiguous. “A mark on the head” leaves the location open. “A mark on the striking face” identifies a specific surface. Likewise, the cheek is on the side of the head; it is not another name for the face.
In a photograph or inventory note, describe the region before describing its appearance. For example, “smooth circular face, curved forked claw” is more informative than “standard hammerhead.” That wording describes visible form without claiming a grade, hardness or suitable application.
The distinction also has a practical limit: CCOHS advises against striking with the side or cheek of a hammer. A surface having a name does not make it an interchangeable working face.
Handle, grip and eye depend on the construction
A wooden-handled hammer joins different components. The handle enters the head’s eye, and the attachment system holds the assembly together. Estwing’s wood-handled curved-claw model provides a concrete example: its product description identifies a steel head, hickory handle and wedge construction.
A one-piece steel hammer is different. Estwing also describes a claw hammer whose head and handle are forged together, with a grip molded onto the steel. The familiar holding region remains, but the construction is not a wooden shaft fitted through a separate head.
This explains two common diagram mistakes. An eye should not be drawn as a universal external feature on every hammer. A grip should not always be drawn as a detachable rubber sleeve. In the wooden example pictured here, “grip” simply identifies where the hand holds the handle.
A generic anatomy chart therefore cannot establish whether a replacement handle exists or which one fits. For that question, find the exact model and its manufacturer’s service information. A shared part name is not a fit specification.
Does every hammer have a claw?
No. The claw belongs to a claw hammer. A ball-peen hammer has a rounded peen opposite its face, rather than a forked claw. “Peen” and “pein” are spelling variants used in tool descriptions; RS uses the latter in its hammer guide.
Start with the tool type when comparing diagrams. A label missing from a ball-peen drawing may reflect a different design, rather than an incomplete drawing. Similarly, the rounded peen should not be renamed a claw just because it occupies the opposite end of the head.
Use location plus description when naming a part
For a tool inventory, teaching note or supplier enquiry, a useful description combines three things: hammer type, named region and visible detail. Keep the description separate from a diagnosis or repair request.
Compare these hypothetical notes:
- Vague: “The top part looks different.”
- Specific: “Wooden-handled claw hammer; curved claw opposite a smooth face; photographed from the cheek side.”
The second note lets someone locate the features and select the right drawing. Add a model identifier when available. If discussing a joint, include a clear photograph of the head-to-handle area rather than assuming the other person can infer the construction from “wooden grip.”
For an observed defect, naming the region does not determine whether the tool can remain in service. CCOHS advises not using a hammer with a loose or damaged handle. Its guidance is a separate safety reference, rather than a repair procedure supplied by this anatomy chart.
Use the diagram to learn the vocabulary, then read any model-specific drawing in its own context. The most useful part name tells another person exactly where to look—and leaves construction, compatibility and condition to the evidence that can establish them.
References
- RS: hammer types and anatomical terms.
- Estwing: one-piece steel claw hammer with molded grip, a construction example.
- Estwing: wooden-handled curved-claw hammer with wedge construction, a separate-head example.
- CCOHS: Hand Tools—Hammers, including handle condition and cheek-use guidance.