


What Should a Jigsaw Blade Insertion-Depth Record Capture?
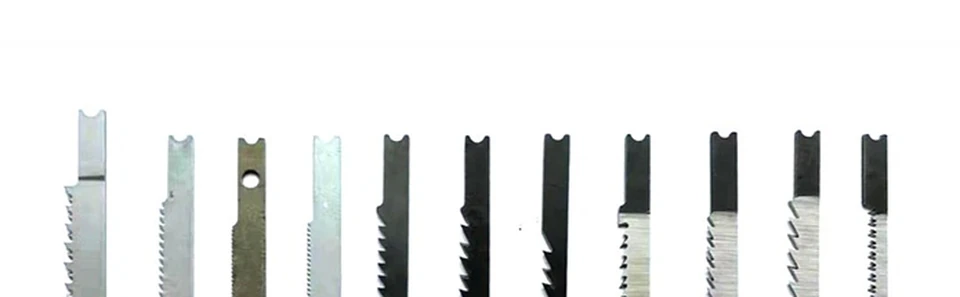
An insertion-depth record should capture an observed position, not manufacture a compatibility conclusion. The useful question is not “does this blade fit?” but “what reference points, photos, and unknown holder conditions should travel with the RFQ?”
- FAQs
Part 1. Define the record boundary before measuring
Set the record’s purpose before looking at the tool. It may document a visible blade position for a buyer’s enquiry, compare a controlled sample, or identify where a supplier needs more information. It is not a release certificate and it is not proof that a clamp is secure.
Give the record an identifier, a date, and the source of the blade reference. Where the tool or holder is not available for safe observation, write “not observed” rather than filling the gap with a typical value.
Part 2. Name the blade-side and holder-side references
Pick one blade-side reference that can be seen consistently, such as an edge of the shank or another clearly documented feature. Then name the holder-side reference separately, for example the visible holder entry plane. The two references need to be legible to another reviewer.
Do not quietly switch reference points between photos. A record remains useful when it shows where the measurement begins and ends, even if the outcome is a request for clarification rather than a number.
Part 3. Capture a position without claiming engagement
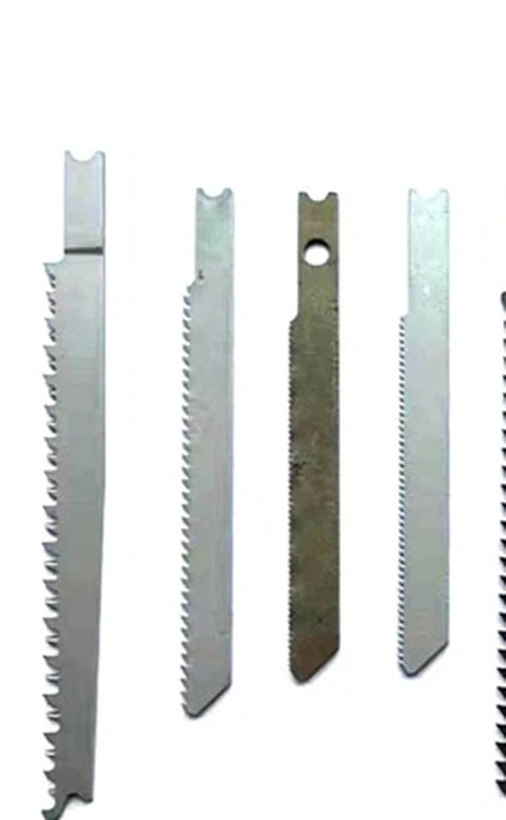
Record an observed distance with its unit, the two named references, the source photo, and the condition under which it was seen. Add a note when the blade is not fully visible or when a protective cover obscures the relevant point. Visible length is not a substitute for an engagement or retention claim.
The jigsaw blade shank identification record is useful when the blade-side features themselves require a separate description. Keep that identification record distinct from the holder observation.
Important: Do not create or adjust this record on operating equipment. Follow the applicable equipment and guarding procedure; OSHA’s machine-guarding overview is a general safety reference rather than a task-specific instruction.
Part 4. Attach photos that preserve context
Use at least one overview and one close view when the procedure permits a photograph. The overview should show the relationship of the blade to the holder area. The close view should make the stated reference points understandable.
If scale is not visible, say so.
Avoid annotations that cover the very feature another reviewer needs to see. A simple numbered callout is enough when the numbered list explains the reference, image source, and any obstruction.
Part 5. Create an RFQ response table
The RFQ can ask a supplier to respond to evidence without requesting a blanket assurance. Keep supplied observations, buyer requirements, and supplier-response fields apart so that any later answer has a visible basis.
| RFQ field | Buyer record | Supplier response requested |
|---|---|---|
| Blade reference | Photo ID, sample ID, or drawing revision | Confirm which supplied reference was reviewed. |
| Blade-side point | Named visible feature | State whether the reference point is understood. |
| Holder-side point | Photo and visible entry-plane note | Identify missing holder information. |
| Observed position | Unit, datum, and observation condition | Clarify whether more evidence is needed. |
| Requested scope | Quantity context and documents requested | Reply to the stated enquiry scope only. |
For a later distributor decision involving more than one holder, use the separate multi-holder release record. A single insertion observation should not be expanded into a cross-holder release statement.
Part 6. Use category context carefully
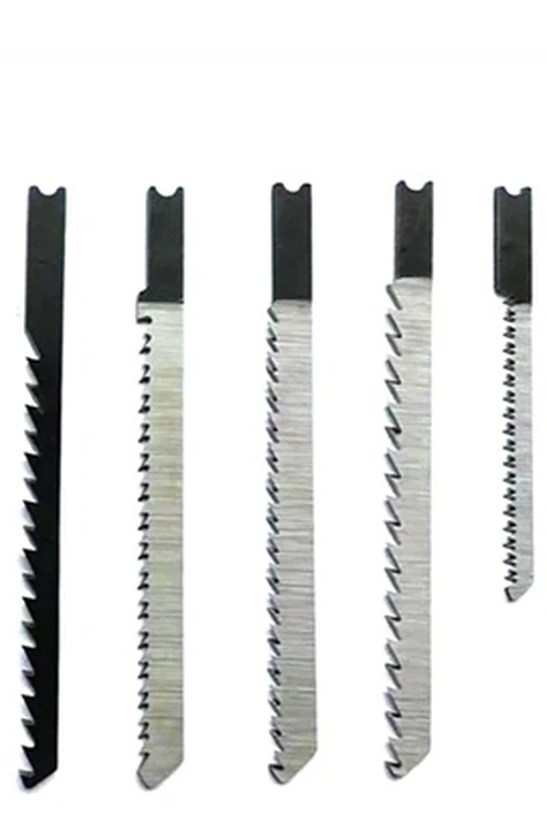
The Jigsaw Blades category is a sensible route for a buyer who has prepared a controlled enquiry. It can identify the product family under discussion, but it cannot validate a particular holder-side condition from a picture.
Keep the recommendation limited to category context. A specific product choice should wait until the relevant blade reference, holder evidence, and requested configuration can be reviewed together.
Part 7. Escalate conditions that cannot be observed
Some conditions cannot be read from a photo or a visible position. Examples include hidden holder features, the state of an internal component, and any condition that would require an unsafe or unauthorized inspection. Mark these as unobserved and ask for the correct source document or qualified review path.
Send the completed record through Contact Us with the source photos, reference list, and RFQ table. Ask for clarification against those fields, and keep any remaining unknowns visible in the resulting correspondence.
FAQs
Where should insertion depth be measured from?
Measure only between two named, visible reference points recorded in the same file. If either point cannot be seen clearly, document that limitation instead of choosing an assumed start point.
Does visible blade length prove holder engagement?
No. It reports an external observation only. Engagement, clamp condition, and fit need evidence beyond a visible length.
Can an insertion record be made while a tool is running?
No. Do not observe, measure, or alter the blade condition on operating equipment. Follow the applicable work-equipment procedure before any permitted observation.
Which photos belong with an insertion record?
Include a context view, a close view of each named reference, and the source identifier for each image. Note when scale, datum, or a holder feature is not visible.
Can one holder record cover another holder?
No. Keep the holder identity with the observation. A separate holder needs its own evidence and clarification path.
What should a supplier confirm from this record?
Ask the supplier to identify the reviewed reference, point out missing information, and respond to the stated enquiry scope. Do not ask the record alone to prove fit or operating performance.